Easy DIY Composting for Beginners: Turn Kitchen Scraps into Garden Gold
Learn easy DIY composting for beginners with simple steps, expert tips, and eco-friendly methods. Transform your kitchen scraps and yard waste into nutrient-rich soil for your garden!
Easy DIY Composting for Beginners ♻️
Composting is an effective, eco-friendly way to reduce waste and create nutrient-rich soil for your garden. Whether you live in a small apartment or have a spacious yard, anyone can start composting at home. This guide walks you through the basics of composting, offering step-by-step instructions, practical tips, and simple methods to help you begin your composting journey with confidence.
Composting not only diverts kitchen scraps and yard waste from landfills but also transforms them into garden gold. Ready to get started? Let’s dive in.
1. Why Composting?
Composting is a win-win for your garden and the environment. Here’s why you should consider starting your own compost system:
- Reduces Waste: Diverts organic matter from landfills, thereby lowering methane emissions.
- Improves Soil: Produces nutrient-rich compost that enhances soil structure and fertility.
- Eco-Friendly: Helps lower your carbon footprint and supports sustainable living.
- Cost Savings: Reduces the need for chemical fertilizers and soil amendments.
By composting, you contribute to a healthier planet while enriching your garden naturally.
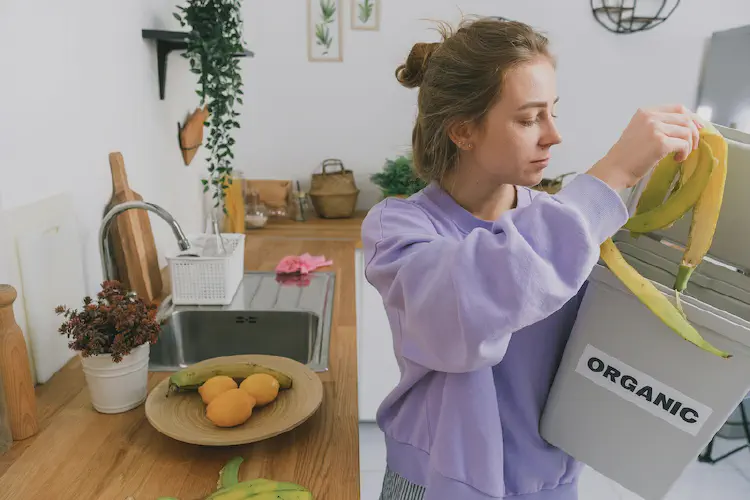
2. What Can You Compost?
A successful compost pile requires a balanced mix of “green” and “brown” materials. Use this quick guide to build your ideal blend:
Green Materials (Nitrogen-Rich)
- Kitchen Scraps: Fruit and vegetable peels, coffee grounds, tea bags, eggshells.
- Yard Waste: Fresh grass clippings and green leaves.
- Other Additions: Plant trimmings and non-dairy food leftovers.
Brown Materials (Carbon-Rich)
- Dry Leaves: An abundant source of carbon.
- Paper & Cardboard: Shredded newspaper, cardboard, and unbleached paper towels.
- Other Materials: Wood chips, straw, or hay.
Aim for roughly a 50:50 mix of green and brown materials. An imbalance can slow decomposition or cause unpleasant odors.
3. Choosing a Composting Method
There are several composting methods to suit different spaces and lifestyles. Select the one that best fits your situation:
Bin Composting
- Ideal for: Small yards or limited space.
- Benefits: Keeps compost contained, minimizes pests, and speeds up decomposition.
- Tip: Use a sturdy composting bin that allows for proper aeration.
Pile Composting
- Ideal for: Larger properties with ample outdoor space.
- Benefits: Simple and cost-effective—just pile your organic materials on the ground.
- Tip: Choose a well-drained spot and turn the pile regularly for best results.
Indoor Composting
- Ideal for: Apartments or homes without outdoor space.
- Options:
- Worm Composting (Vermiculture): Utilizes red wigglers to break down food scraps.
- Countertop Composting Systems: Compact units that use bacteria to decompose waste with minimal odor.
- Tip: Look for systems designed for indoor use that are easy to maintain.
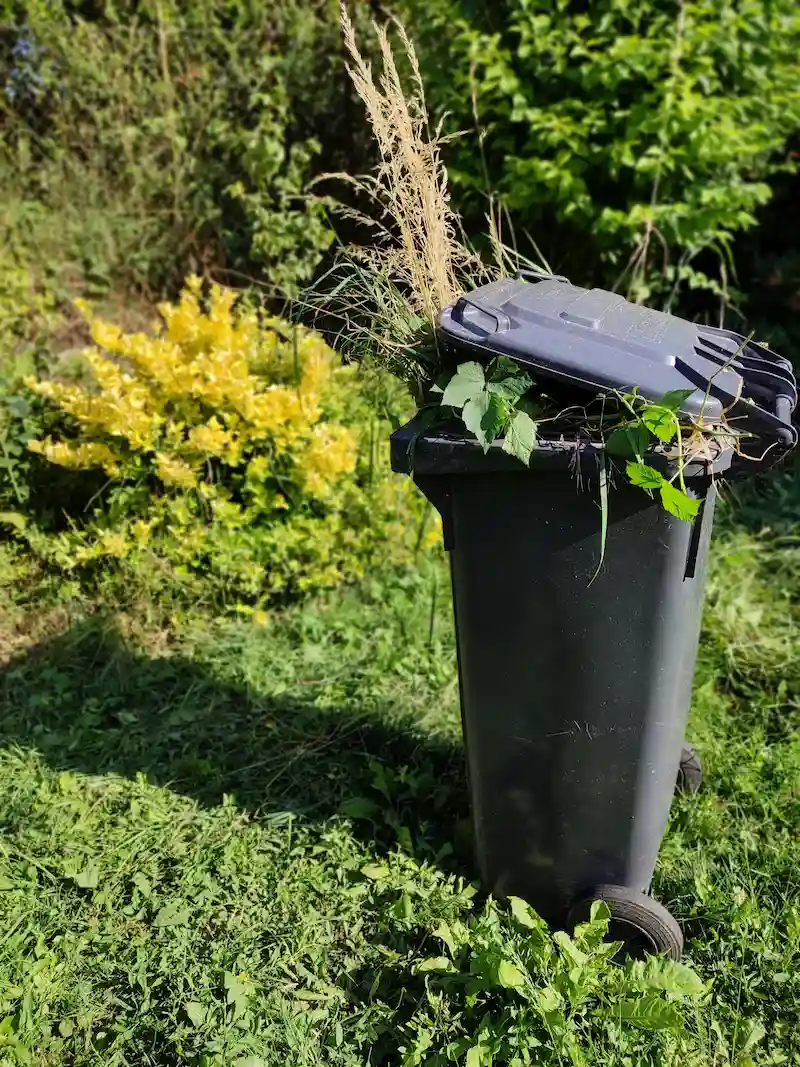 A sturdy composting bin is ideal for managing organic waste in small spaces.
4. How to Start Composting
Follow these simple steps to create your compost:
-
Step 1: Choose Your Location
Select a shaded, well-drained area for your compost bin or pile. This helps maintain the right moisture and temperature levels. -
Step 2: Layer Your Materials
Start with a base layer of brown materials (like dry leaves or shredded cardboard), then add a layer of green materials (like vegetable scraps). Alternate layers to achieve a balanced mix. -
Step 3: Maintain the Right Moisture
Keep the compost moist but not soggy—a consistency like a wrung-out sponge is ideal. -
Step 4: Turn the Pile Regularly
Aerate the compost by turning it every few weeks. This accelerates decomposition and prevents odor. -
Step 5: Harvest the Compost
After a few months, when the compost looks dark, crumbly, and smells earthy, it’s ready to use!
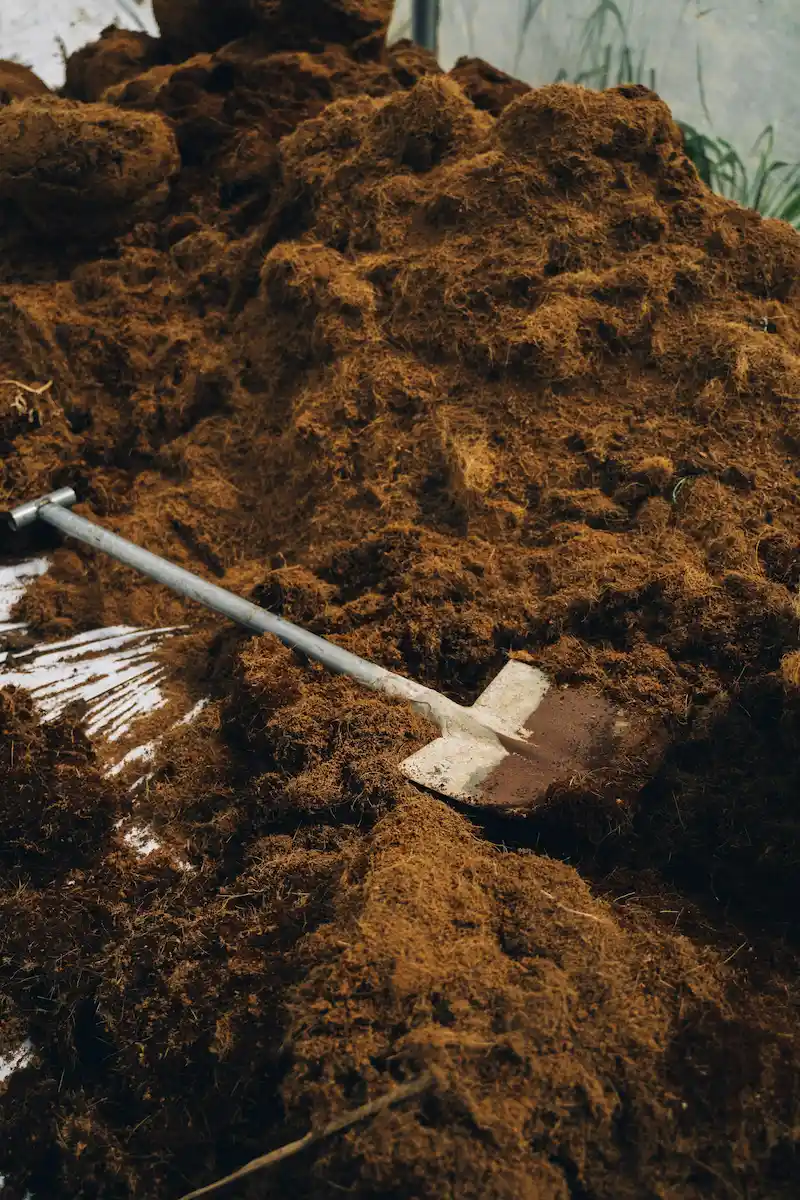 Regular turning helps ensure even decomposition.
5. Common Composting Mistakes to Avoid
Avoid these common pitfalls to ensure your compost works efficiently:
- Too Much Green Material: An overly nitrogen-rich pile may become slimy and smelly. Balance with enough brown material.
- Adding Meat or Dairy: These can attract pests and create odors. Stick to plant-based scraps.
- Neglecting to Turn the Pile: Without regular aeration, your compost can become compacted and slow to decompose.
- Overwatering: Excess moisture may lead to anaerobic conditions and unpleasant smells.
6. Indoor Composting for Beginners
If outdoor composting isn’t an option, consider these indoor methods:
Worm Composting (Vermiculture)
- How It Works: Red wigglers consume food scraps and produce nutrient-rich castings.
- Benefits: Odor-free and highly efficient in small spaces.
- Tip: Keep the bedding moist and feed the worms consistently.
Countertop Composting
- How It Works: Compact systems that use microbes to break down organic waste.
- Benefits: Fast, efficient, and designed for minimal odor.
- Tip: Choose a system known for ease of cleaning and odor control.
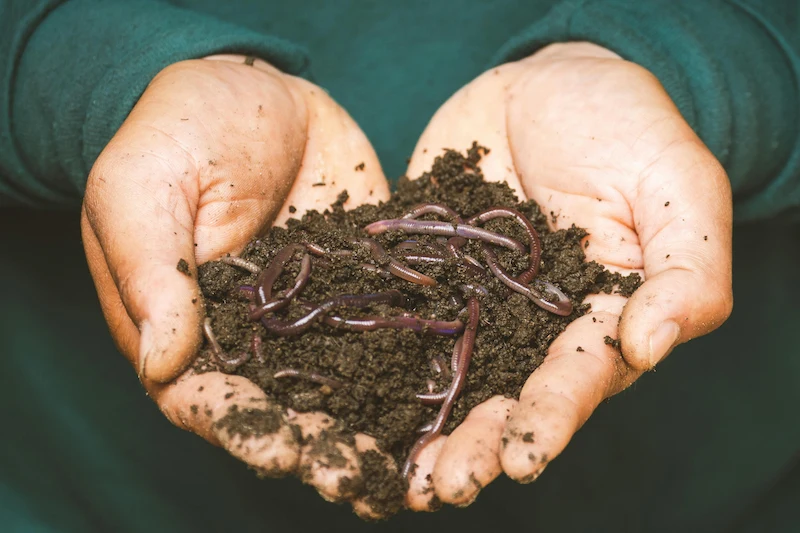 A worm composting bin is an excellent choice for indoor composting.
7. What to Do With Finished Compost
Once your compost is ready, use it to give your garden a boost:
- Garden Soil Amendment: Mix compost into your garden beds to improve soil fertility.
- Top Dressing for Plants: Sprinkle compost around trees, shrubs, or flower beds for a nutrient boost.
- Compost Tea: Steep a bag of compost in water to create a nutrient-rich liquid fertilizer.
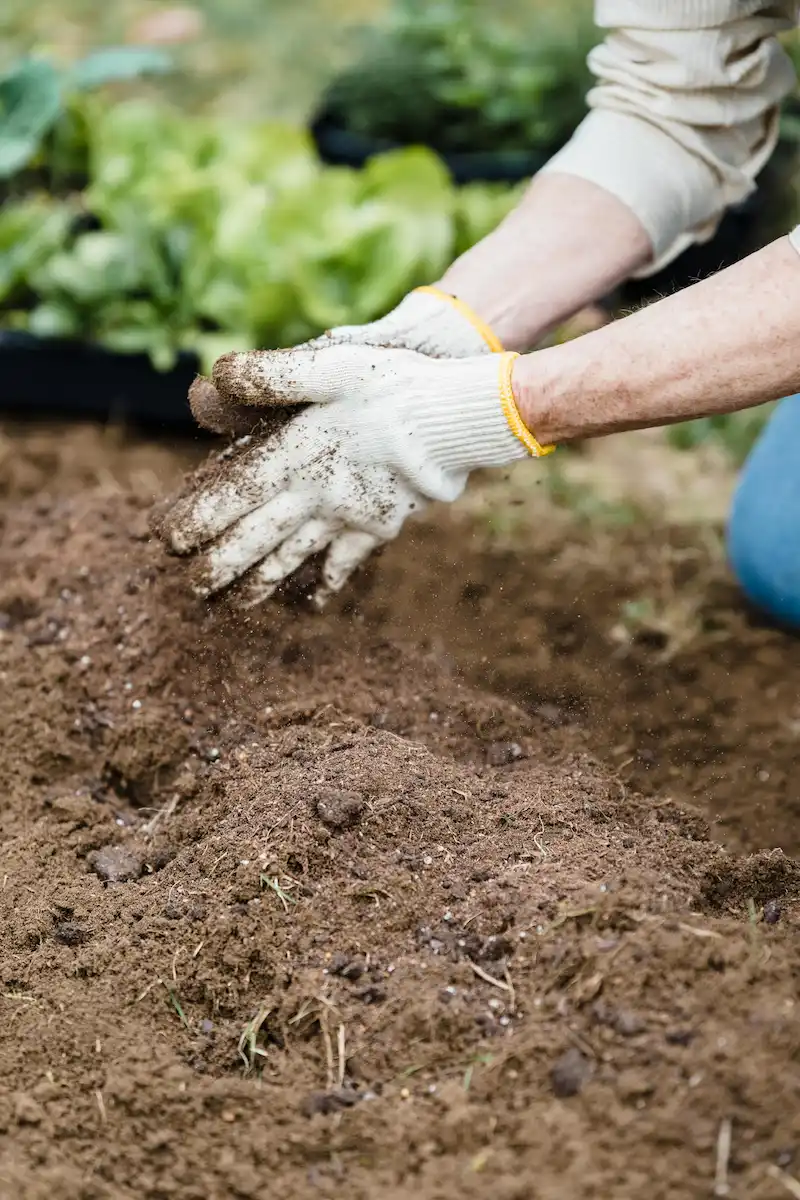 Finished compost enriches soil and promotes healthier plant growth.
Final Thoughts
Starting a composting system is a rewarding, eco-friendly way to reduce waste while nurturing your garden. With careful attention to the balance of materials and regular maintenance, you can transform kitchen scraps and yard waste into a valuable resource for your plants. Enjoy turning your organic waste into garden gold!
Frequently Asked Questions (FAQ)
Q1: What is DIY composting?
A: DIY composting is a hands-on method of recycling organic waste—like kitchen scraps and yard debris—into nutrient-rich compost that benefits your garden and reduces landfill waste.
Q2: How long does it take for compost to be ready?
A: Depending on the method and conditions, compost can be ready in a few months to a year when it becomes dark, crumbly, and has an earthy smell.
Q3: Can I compost indoors without odor issues?
A: Yes. Indoor composting methods like worm composting and countertop systems are designed to minimize odors, making them ideal for apartments or homes without outdoor space.